
We are now ready to run the first Map/Reduce project but data is still missing. This section explains how to upload data to the Hadoop Distributed File System (HDFS).
Upload Files To HDFS
- Open a new CYGWIN command window.
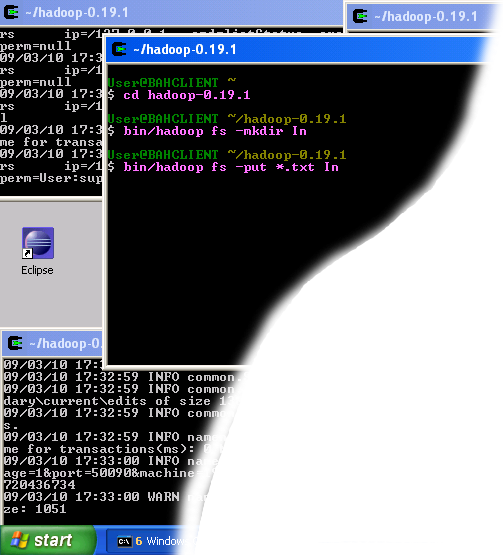
- Execute the following commands in the new CYGWIN window as shown on the image above.
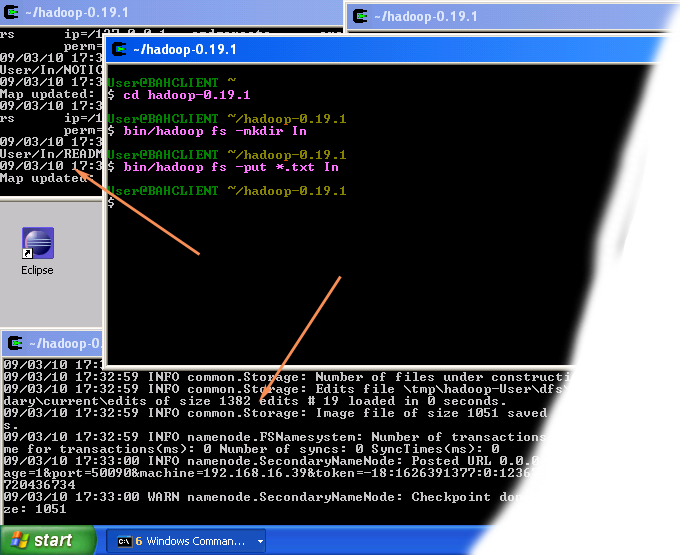
cd hadoop-0.19.1When the last of the above commands starts executing, you should see some activity in other Hadoop windows as shown in the image below.
bin/hadoop fs -mkdir In
bin/hadoop fs -put *.txt In
The result of these commands is a newly created directory -- named In -- in the HDFS which contains a set of text files that comes with the Hadoop distribution. - Close the Cygwin Window.
Verify if the files were uploaded correctly
In this section we will check if the files were uploaded correctly.
- Open the Eclipse environment.
- Open DFS locations folder which is located in the Project Explorer tab ofMap/Reduce perspective.
- Open localhost folder in DFS locations folder.
- Keep opening HDFS folders until you navigate to the newly created Indirectory, as shown in the image below.
- When you get to the In directory, double-click on the file LICENCE.txt to open it.
- If you see something similar to the image above then the data was uploaded correctly and you can proceed to your first Hadoop project.
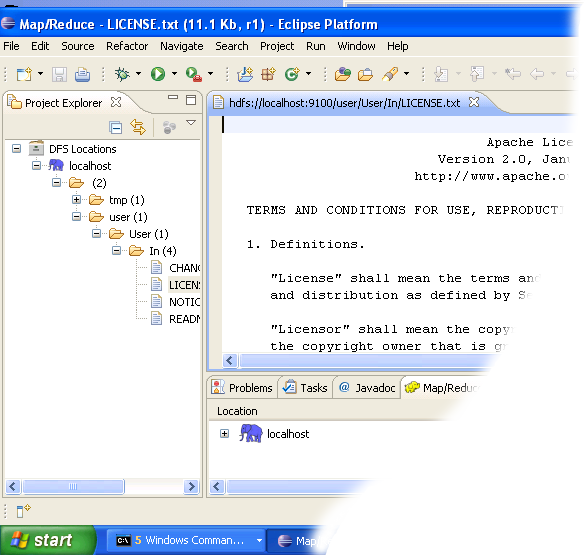
Verifying that the data was uploaded correctly
You can now move on to the next step.
No comments:
Post a Comment
Please feel free to contact or comment the article